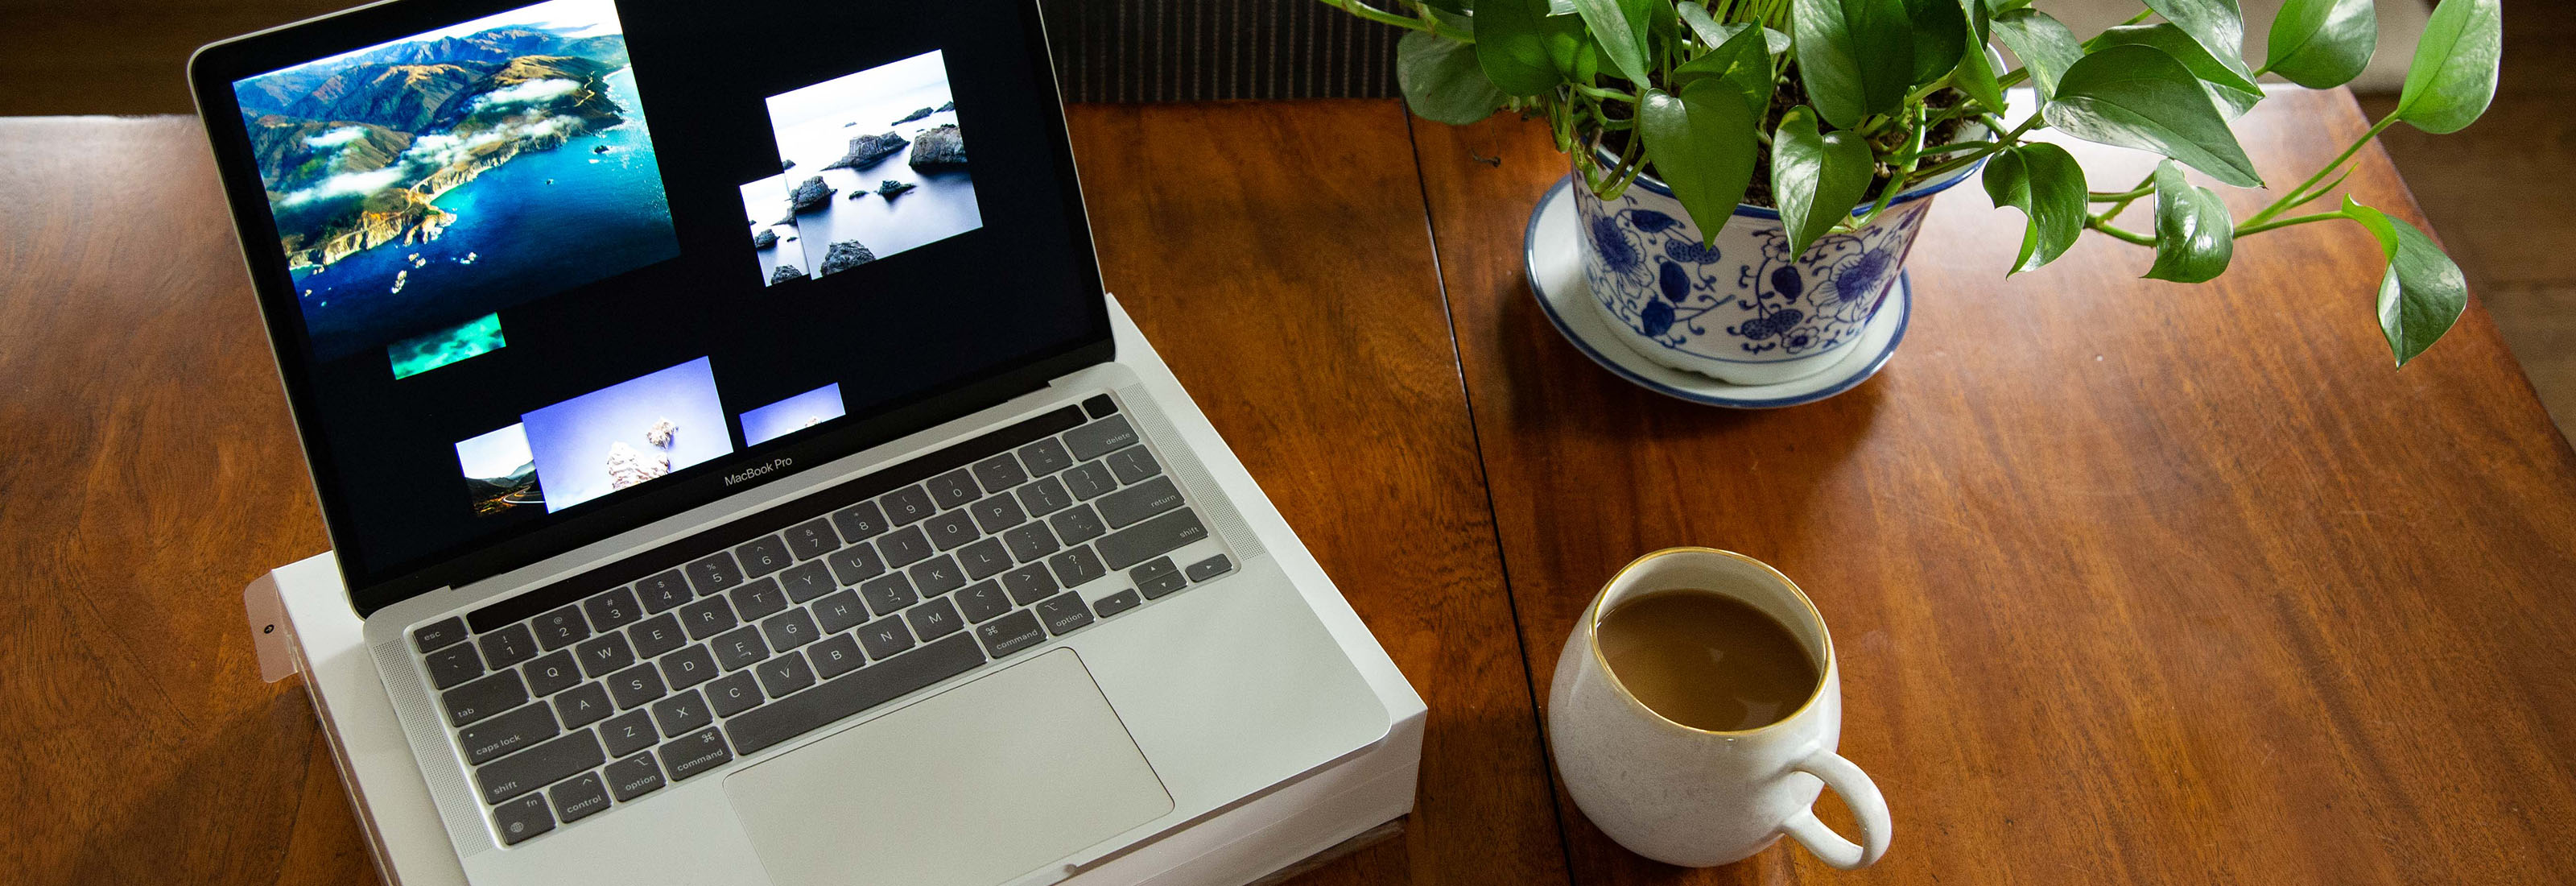

TLDR - I really like this machine, it is portable, fast, quiet, and comfortable to work on for hours at a time.
When I read about Apple’s announcement of the new M1 MacBook Pro featuring the Apple M1 Chip, I must admit, it made me a bit excited about Macs again for the first time in a long time. 15 years to be exact, as the last time I felt this way was when Apple announced the transition from PPC to Intel at WWDC back in 2005. Although I was excited about the potential performance gains, I was also a bit skeptical about how “real” they were given the fact that the only metric Apple provided was “2x’s faster”, and the graph they shared on their site doesn’t have any numbers along the axis.
My skepticism didn’t last long, as a few days later, Geekbench performance numbers started to surface for the new machines, and they were quite impressive. After reviewing a bunch of them as well as reading a few early reviews of them, I decided to take the red pill and place my order for a new M1 MacBook. Unfortunately for me, by this time, shipping times had been pushed out to 3-4 weeks.
After three weeks of waiting I had the pleasure of unboxing my new M1 MacBook Pro! The first thing I did was to try out the apps I use the most to see if they felt any faster, and let me answer that question right away with a big YES! Lucky for me most of them have early release native versions already so there was no need to install Rosetta (yet)! For the curious few, the shortlist of apps that I initially tried were Intellij CE, VS Code, Java & the JVM, Scala, and most of my zsh environment. If you are looking for more details, don’t worry, I will share my detailed impressions as well as the process I went through to get everything up and running next.
Initial Impression
My initial impression of the machine is very positive for many reasons. Here is a list of them in no particular order.
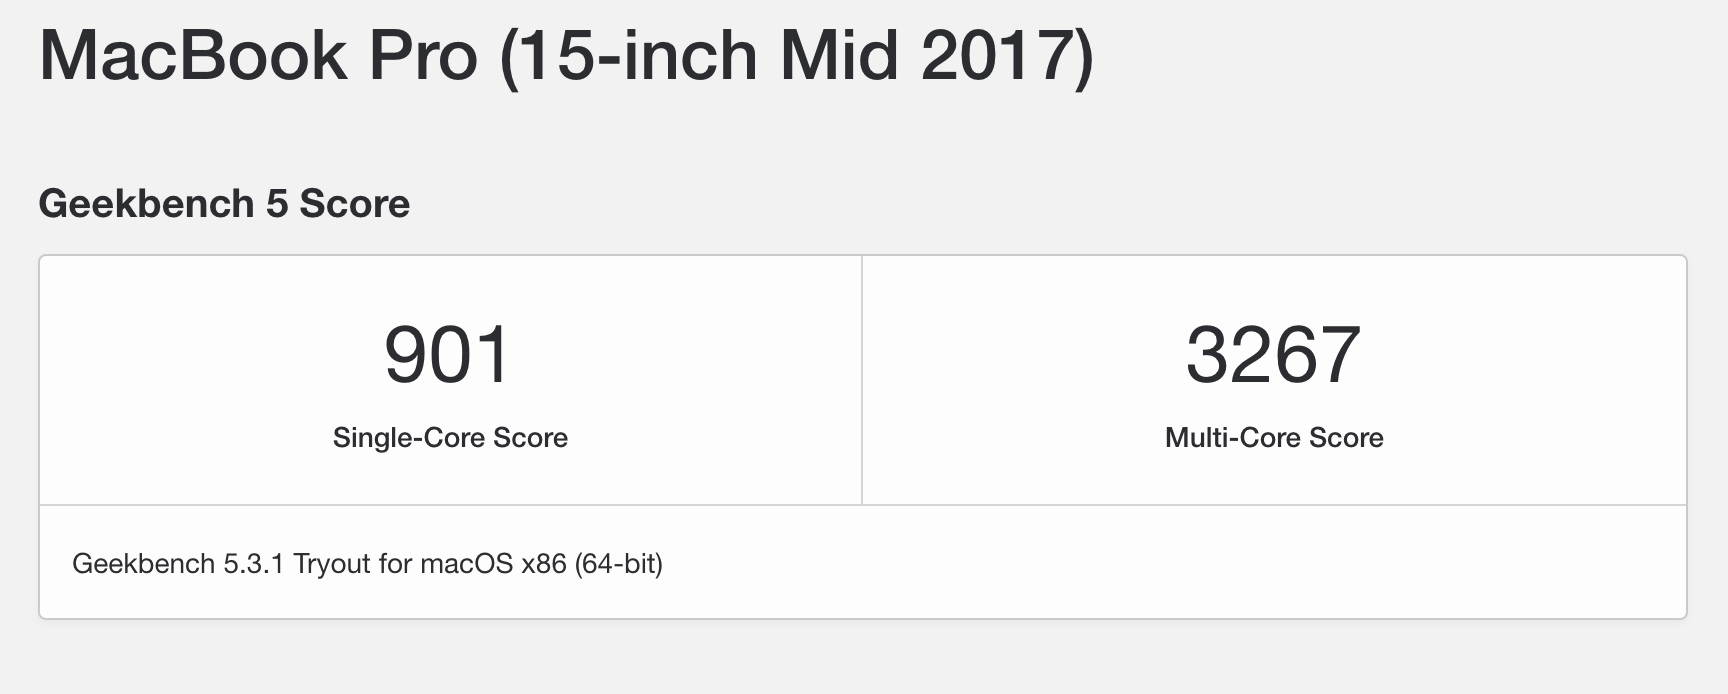
- Amazing performance compared to my 2017 i7 based MacBook Pro, to be specific, here are the Geekbench numbers for my 2017 MacBook:
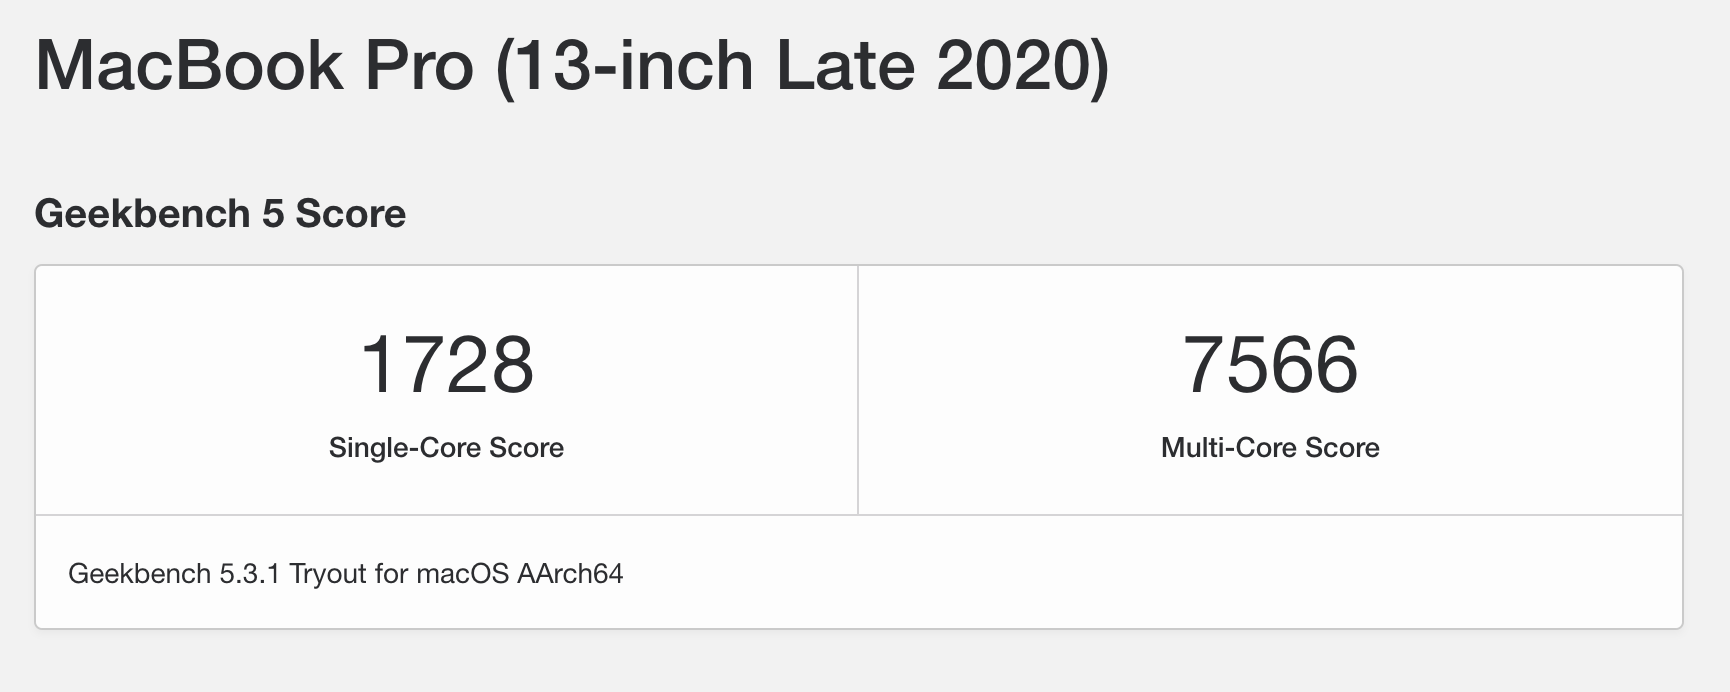
compared to the new M1 MacBook Pro:
-
Apps open instantaneously. This is not an exaggeration as an app like Firefox opens just about as fast as opening Contacts. Even Intellij opens nearly instantaneously.
-
The instant on feature is quite nice as well. As soon as you open the lid, it is waiting for your fingerprint.
-
Runs silently. I have been a proponent of quiet PC’s for a long time. For the first time, I can say that I have an extremely powerful machine that doesn’t sound like it is about to take off every time I perform an intensive CPU operation, I.e., building a Scala/Java project from scratch, compiling a Brew Formula, using Google Meet, performing a system update, among others.
-
Stays cool under pressure. It also stays cool to the touch under the same conditions mentioned above. So cool, in fact, I no longer need to carry around a large textbook to protect myself from my burning hot machine while sitting in my favorite chair.
-
Has all day battery life. Thus far, the charging pattern for it has been similar to my iPhone where I use it all day, and plug it in while I sleep. I can work on it all day, doing the sort of tasks that I mentioned above roaming around without a power cable. At the moment this is a bit contrived, as my power adapter is never more than a few steps away since I am home all the time (due to COVID), but I am confident that once things are back to normal, I will no longer be carrying a charger with me everywhere I go.
-
The keyboard feels great. I know it is strange to be talking about a keyboard given the fact that this post is about an expensive Apple laptop, but let me just say that I couldn’t be happier with the fact that this MacBook does not have the Butterfly keyboard!
Fun fact, my 2017 MacBook is currently with Apple Support getting the keyboard replaced under the Keyboard Service Program for MacBook, MacBook Air, and MacBook Pro.
Getting up and running
These Apps & tools run natively on Apple Silicon, I.e., no tweaking necessary:
- Chrome Canary
- Firefox Beta
- Intellij
- Azul Zulu JDKs
- Scala, SBT, Gradle, and Maven all work fine under Zulu OpenJDK
- VS Code Insiders
There were also many workarounds I had to work through to get the rest of my tools working. While I was waiting for the new machine, I did a lot of research on the best ways to get Brew running on the M1. Brew on ARM64 is not “officially supported” yet, but that wasn’t going to stop me from trying to get it running. Of course, I took the advice of the Brew committers and installed it in a non-standard location, ~/.homebrew to give it a try.
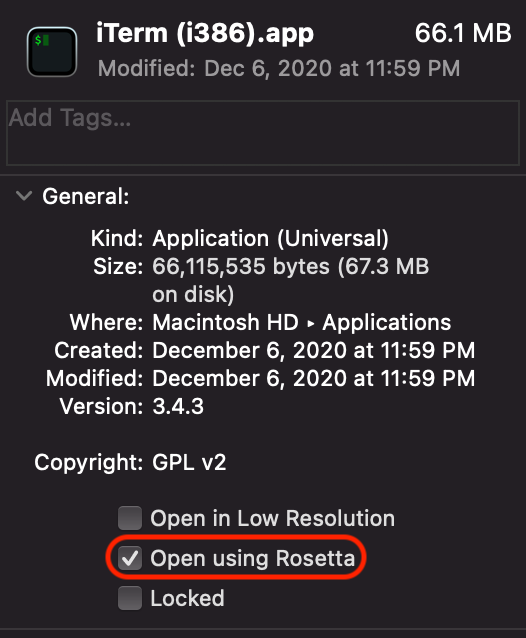
I was able to get most of my formulas working this way until I ran into the ones that depended on Go or Rust. I tried going down the “compile everything” route, but there were a lot of issues getting things running. If someone wanted to get everything running on ARM I am confident they could have, but due to time constraints, I had to give up. This is when I decided to go down the path of running Brew under Rosetta. There are two different ways of getting access to a shell running under Rosetta:
- Create a copy of the iTerm App and check off “Open using Rosetta”
- Create a new iTerm profile where the launch command is
arch -x86_64 zsh
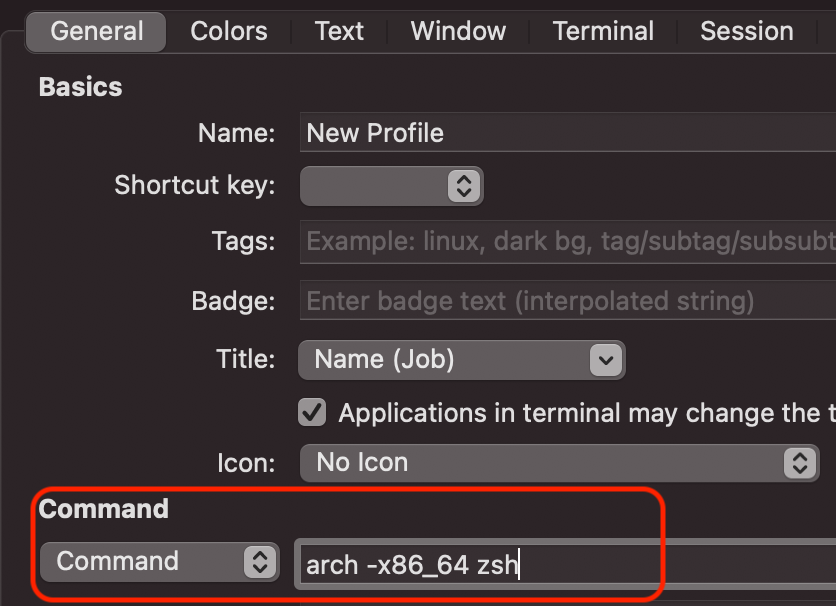
I chose the second option because it is lighter weight, I.e., running a single instance of iTerm vs having two different instances running at the same time. There is one downside to this setup, as it can be a bit confusing when trying to disambiguate AN arm64 session from an i386 one. Luckily, there is an easy way to fix this which is to add the current $(arch) to your shell somewhere.
Since I use Powerlevel10k, it seemed like the perfect place to display this was next to the icon which was in my left prompt. The way I set it up was by adding a new function called prompt_arch to my config that simply displays the current architecture. Here is the entire function:
function prompt_arch() {
    p10k segment -b 7 -f 232 -t $(arch)
}
As you can see, it is quite straightforward, and after adding arch to my left prompt config next to os_icon I get a shell that clearly shows which architecture it is currently running on.


Running Brew under Rosetta solved most issues, but there were still a few issues remaining.
The first of which is I couldn’t install new Python versions using pyenv. pyenv install failed every time I ran it, no matter which Python version, no matter if I was under arm64 or i386. Fortunately, I was able to find a workaround which was to ensure it was pulling in the correct usr/lib by adding LDFLAGS to the environment before running pyenv. The full command that worked for me was:
LDFLAGS="-L$(xcrun --show-sdk-path)/usr/lib" pyenv install 3.8.6
The next issue I faced was getting the google-cloud-sdk and awscli installed and working with Brew. Installing the google-cloud-sdk, I.e., brew install google-cloud-sdk failed with a cryptic error message: 2845 illegal hardware instruction. The awscli formula installed, but all aws commands were failing with nearly the same cryptic error message: 2892 illegal hardware instruction.
It was puzzling that both of the top two cloud providers SDK’s crashed with a nearly identical error message. Then, I realized both of them depended on [email protected]
I was able to get the google-cloud-sdk installed and working properly by running the installer manually, outside the context of Brew. This made me realize that the issue was not with the google-cloud-sdk, or with Python on ARM, but with the version of Python that was being invoked when installed via Brew.
After a bit of digging, I was able to find a similar issue on Github where python failed to run with the same error that I was seeing illegal hardware instruction. This particular issue was “AVX instructions in Big Sur bottles crash when run in Rosetta 2” and one of the commenter’s mentioned that if you install python3 via Brew with the form source option I.e., brew reinstall -s python3, the issue goes away, and sure enough it did! I removed the manual installation of google-cloud-sdk and then re-installed it using Brew and that worked perfectly. I did the same for awscli and then tried to run aws s3 ls and it worked too. So it ended up being a Python issue, but not with the language or runtime itself, but the version that shipped with Brew. I am sure by the time of this writing it will be fixed so you won’t have to go through this trouble to get them working.
Final Thoughts
I really like this machine, it is portable, fast, quiet, and comfortable to work on for hours at a time. With that being said, the question is should you get one? If you ask me, it depends on a few things. First, are you in the market for a new MBP? If so, are you currently working on a 13” MacBook or looking for a smaller form factor? If you answer yes to these questions, then I would say go for it! You will not be disappointed. On the other hand, if you are not currently looking or looking for a larger form factor then you should definitely wait for the 15” version of the M1 (or maybe M2) MacBook Pro.